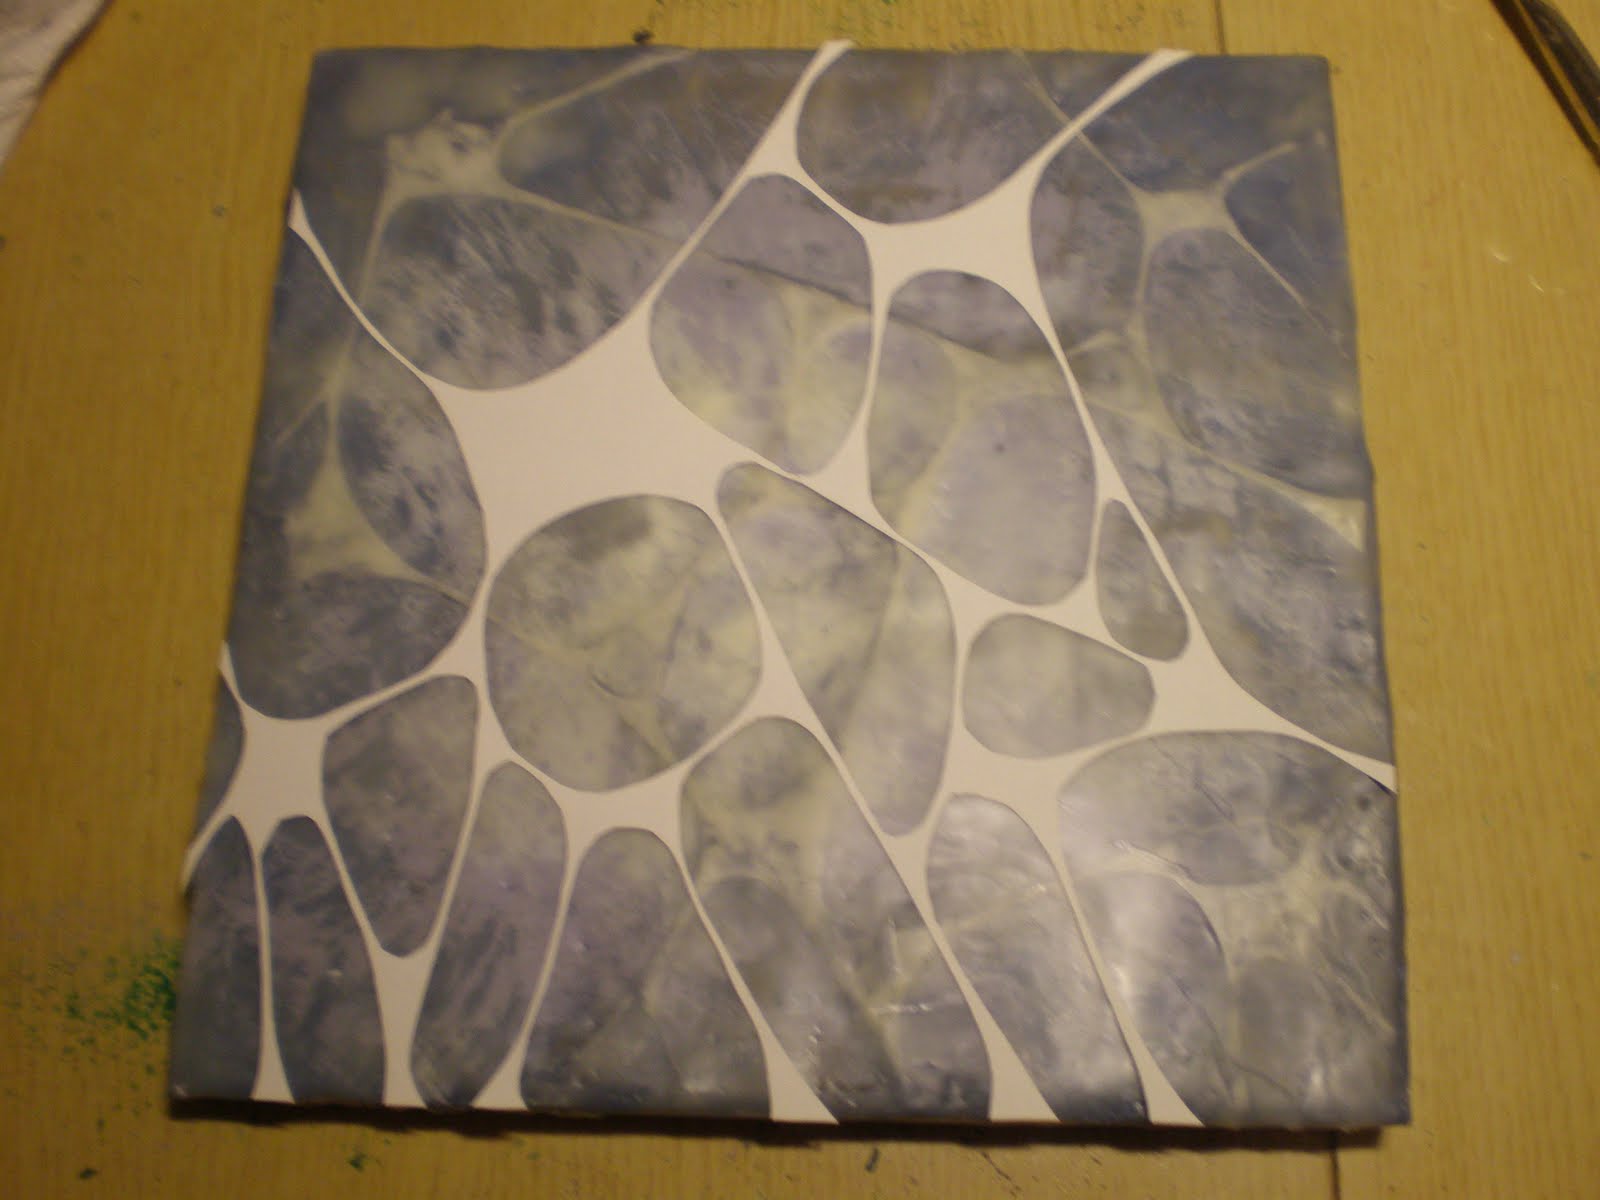
I love paper cut outs and wanted to try including them in my encaustic paintings because the wax holds paper so well. The first one went so well that I documented the process while making the second one, because I always like seeing how art is made and thought some of you would too. I used simple white paper from my sketchbook, traced my board on it, drew abstracted neurons on in the square, then cut them out with an exacto knife. . I did this a second time with another piece of paper so that I had two layers of neurons, but I had to be careful that I placed the bodies of the neurons in different spots on the paper so they wouldn’t overlap too much. Then I prepped my board with the background colors that I wanted, heated it again, and placed the first layer of cut outs on it.
 Then I fused them into the wax and painted over them a little to make them recede into the background.
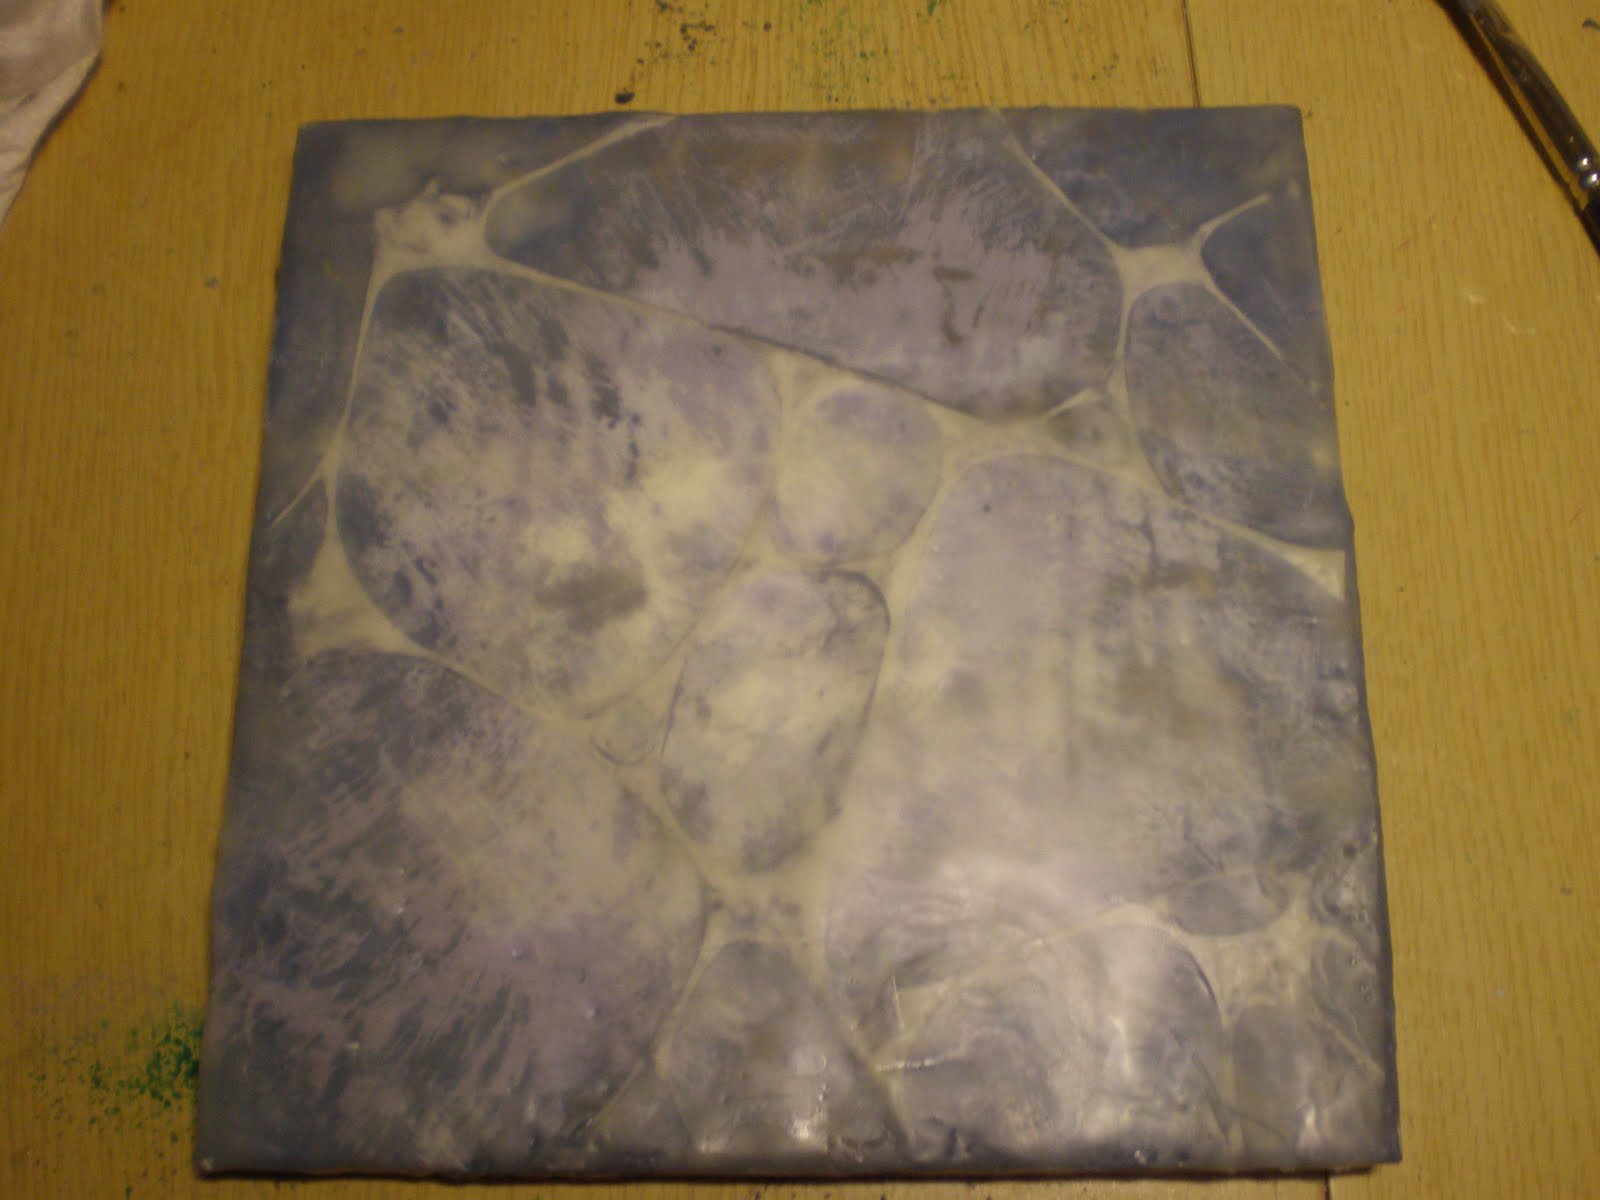 Next, I heated the board again, placed the second cut out on top and fused it into wax, and painted over it with mostly clear wax.
 Once the cut outs were all in the wax I painted the sides with a slightly darker color to hide the edges of the paper, fused it all again, and buffed the piece after it cooled. I actually like the first painting of cut outs I did better because they pop more on the dark background.Here is the finished painting, which looks different than the step by step ones because it turns out I painting it facing the wrong way! (the hardware I drilled into the back determines how it hangs)
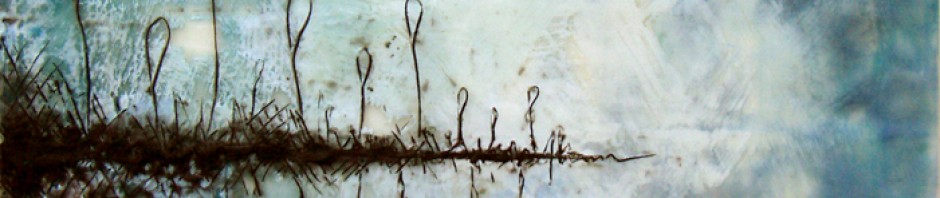
 Here is the first paper cut out painting I did:
 Which one is your favorite? Any questions on the process or suggestions on how to improve these?Peace!
Paper Nerve Paintings – Step by Step
This entry was posted in Blog page, encaustic, how to paint, neurons, paper cut outs. Bookmark the permalink.
4 Responses to Paper Nerve Paintings – Step by Step